Fresh is best. You can hardly go wrong with this motto in general, and it’s certainly true when it comes to herbs. For years, I’ve been growing herbs to use in cooking. I love walking over to a pot and snipping just what I need.
If you are one of the lucky ones who have the luxury to live in the areas with outdoors temperatures suitable for growing your veggies and herbs all year long, I envy you!
Fortunately, growing herbs year-round for fresh use is easy and enjoyable. These are a few basic steps that helped me, and you’ll soon know how to grow herbs in winter too.
1. CHOOSE THE RIGHT LOCATION.
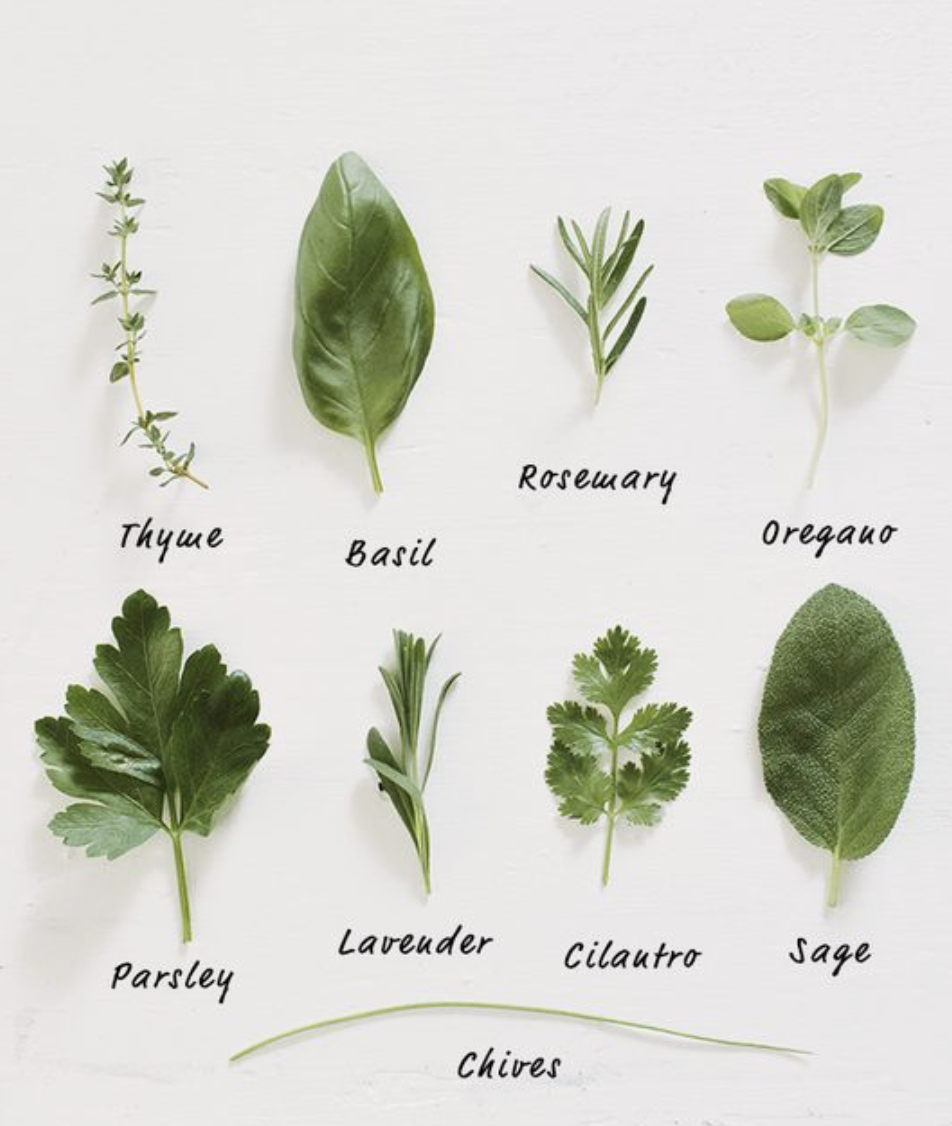
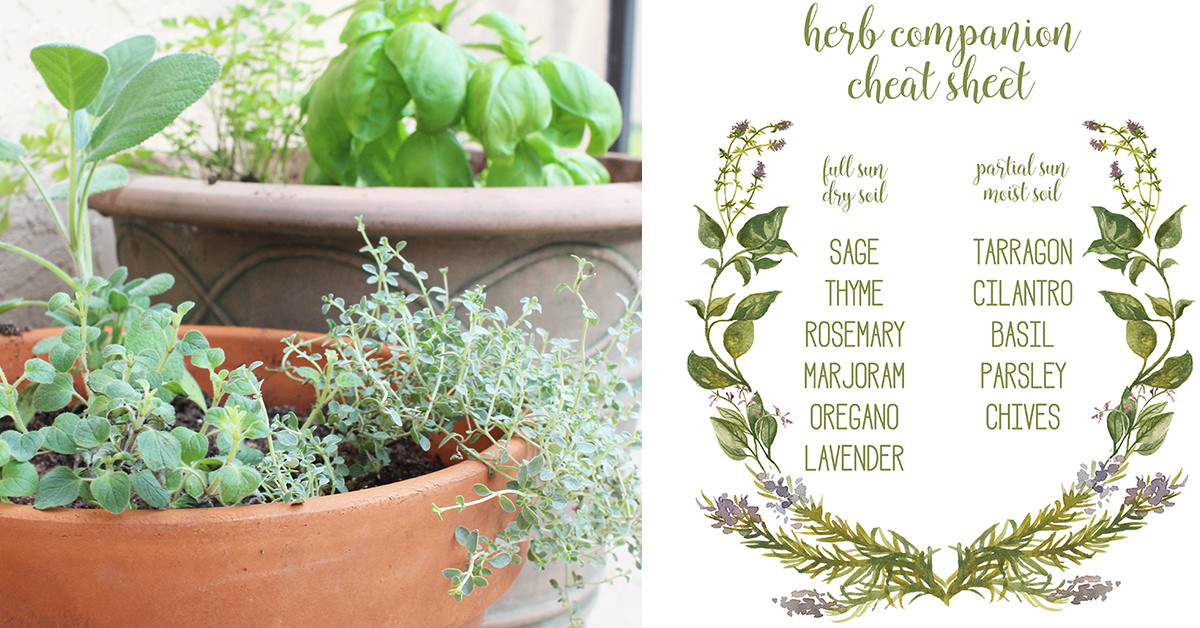
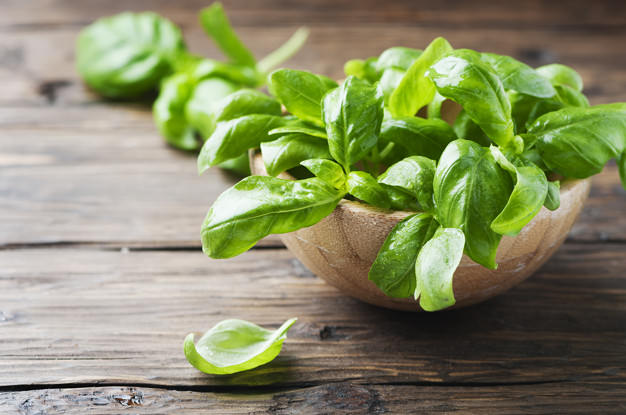
Many herbs lend themselves to indoor gardening, even during the coldest months of the year. Basil, chives, mints and parsley are just a few that do very nicely in pots with bright indirect light. It might surprise you to know you don’t need direct sunlight for growing most herbs; the indirect light most of us get will work fine.
East-, south- and west-facing windows should all give your herbs enough light, especially if you set up a small table or use a counter that keeps plants about a foot away from window glass. You should probably steer away from north-facing windows.
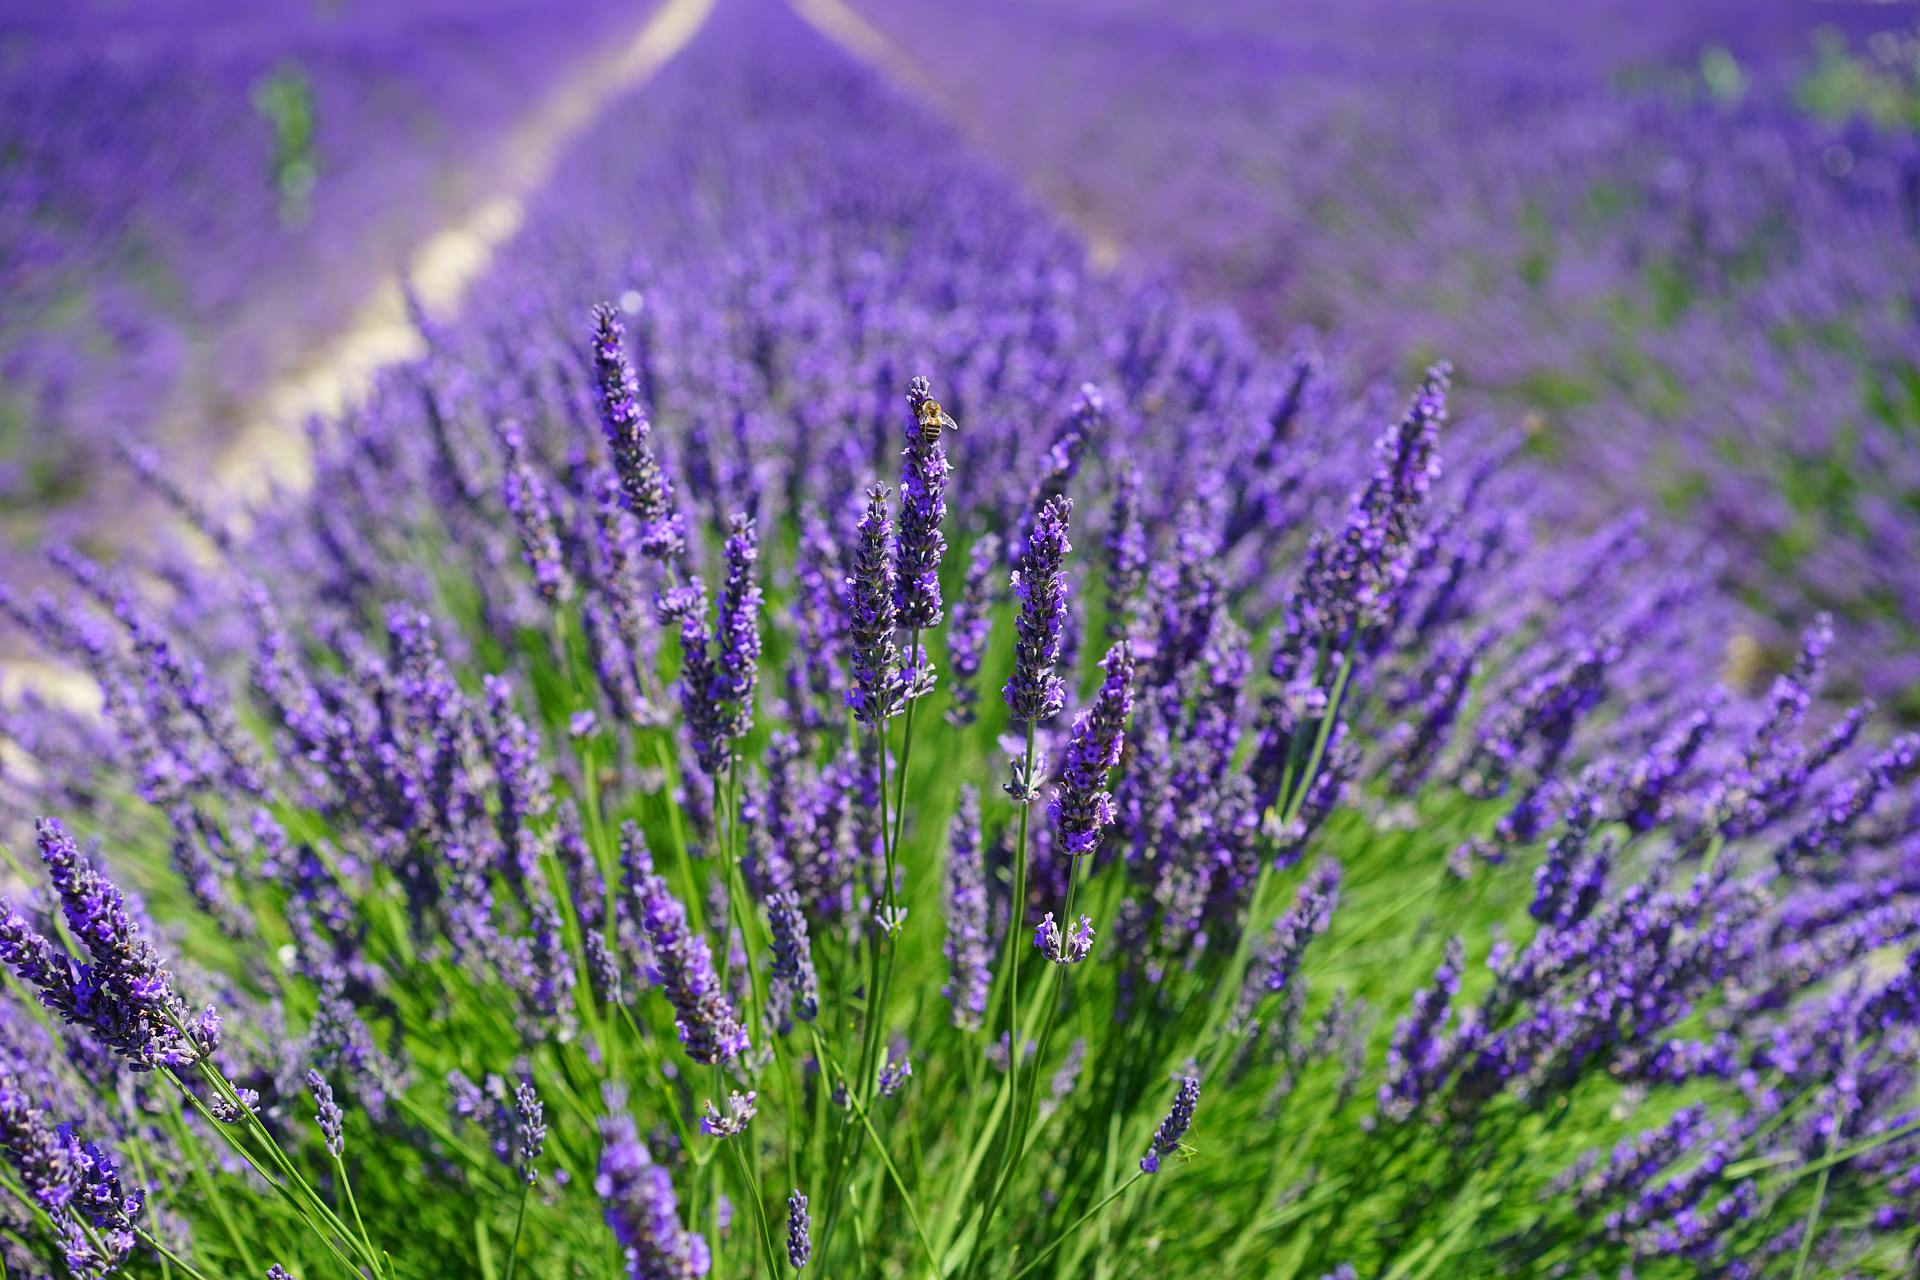
Look around your house and choose your best location. Don’t limit yourself to the kitchen. Why not have a pot of chamomile in the bathroom or bedroom, anise hyssop in the living room and basil or sage in the kitchen window?
2. BUY THE RIGHT POT AND SOIL.
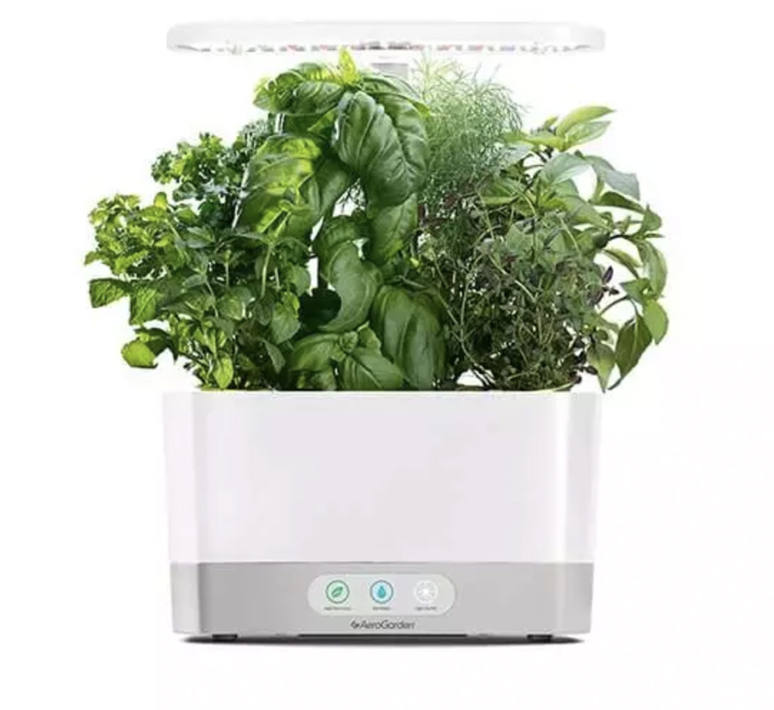
After you figure out your location, it’s time to pot up your herbs. Seeds can be challenging to start indoors, so my suggestion is that you begin with starter herb plants. I prefer growing my plants in clay pottery or unglazed ceramic pots. Natural-fiber pots made from rice, wheat, coir or recycled newspaper are also good choices. I typically stay away from plastic pots because they hold water longer and less evenly than clay pots, making it hard to know when to water.
One of the most important steps in growing herbs is choosing a high-quality potting soil. This is a good place to spend a little extra if you can. Buy soil that feels nice and loose and moist when you take hold of a handful. It shouldn’t compact into a tight ball when you squeeze it. Poor-quality soils, which tend to compact quickly, can eventually become like concrete around plant roots, making it difficult for plants to develop a healthy root structure. If you’re unsure what soil is best, the garden center staff can help guide you. I’ve been using Promix Premium Organic soil for both herbs and vegetables and it is the best so far!
3. PLANT WITH LOOSE SOIL.
Now you’re ready to plant. Loosely fill the pot with soil up to the rim. Don’t press the soil down in the pot, which will make it harder for roots to get established. Before planting, water the soil thoroughly so that it is evenly moist. Now remove the starter herb plant from its pot and gently loosen the soil around the bottom inch of roots. Scoop out a hole in the planting pot and settle the plant in its new home.
Carefully fill soil back around the roots without compacting it. Water the plant moderately to settle loose soil in and around the roots.
4. LEARN HOW TO WATER.
Learning to water herb containers is what takes the most practice, but don’t be intimidated. You want soil that stays evenly moist, not soggy and not bone dry. How fast the soil dries out will vary a lot from home to home, especially when furnaces are circulating warm air throughout the house. Until you get used to how fast your plants dry out, check them every couple of days.
To keep plants and soil from drying out too fast, avoid placing them near furnace vents or hot, sunny windows. If you live in a home like ours where humidity is a big problem, I suggest investing in a small humidifier. It will help your herbs as well as your other indoor plants.
Plan to water plants every three to five days or so. There should be liquid in the drainage saucer beneath the pot, which should get reabsorbed back into the pot within six to eight hours. If that doesn’t happen, pour off the excess, because standing water invites destructive insects.
5. ADD ORGANIC FERTILIZER.
Fertilize herbs once a month with organic fertilizer. Since you’ll probably be using the plants for cooking or tea, you don’t want to be eating chemical fertilizer residues. So I don’t forget, I mark my calendar for the fifth of the month, which is my fertilizing day for all indoor plants. Or you can add some very organic fertilizers like: coffee grounds fertilizer, DIY Molasses Fertilizer, Organic tea fertilizer or Epsom salt fertilizer to name just a few.
6. PREVENT INSECT PESTS.
Whenever you grow plants indoors, insects can come calling. You can prevent most problems by making sure your soil doesn’t get soggy. It’s also important to keep dead and dying foliage from gathering on top of the soil, as decaying plant matter is the perfect habitat for insects like fungus gnats.
If you notice a few pests on your herbs, take action right away by spraying with a soap- or neem oil-based plant product. These treatments are organic and are safe around children and pets. It’s important to treat plants every five to seven days for at least three weeks to catch all the insect life cycles and eliminate the problem.
7. HARVEST FOR GOOD HEALTH.
Finally, be sure to pinch back or harvest your plants regularly every week or so. Pinching back the top couple of inches of growth helps plants stay bushy and healthy, and the harvest is perfect for cooking, making tea or adding to your bath. If you have extra, you can dry or freeze it for later use.
It takes a little discipline, but growing herbs indoors is actually pretty easy. Before long, you’ll wonder why you didn’t start sooner!